Cessna 172 Project
Jump to Version 3 (2020-) Version 2 (2019-2020) Version 1 (2018-2019)
Version 3
#Cessna172sdays
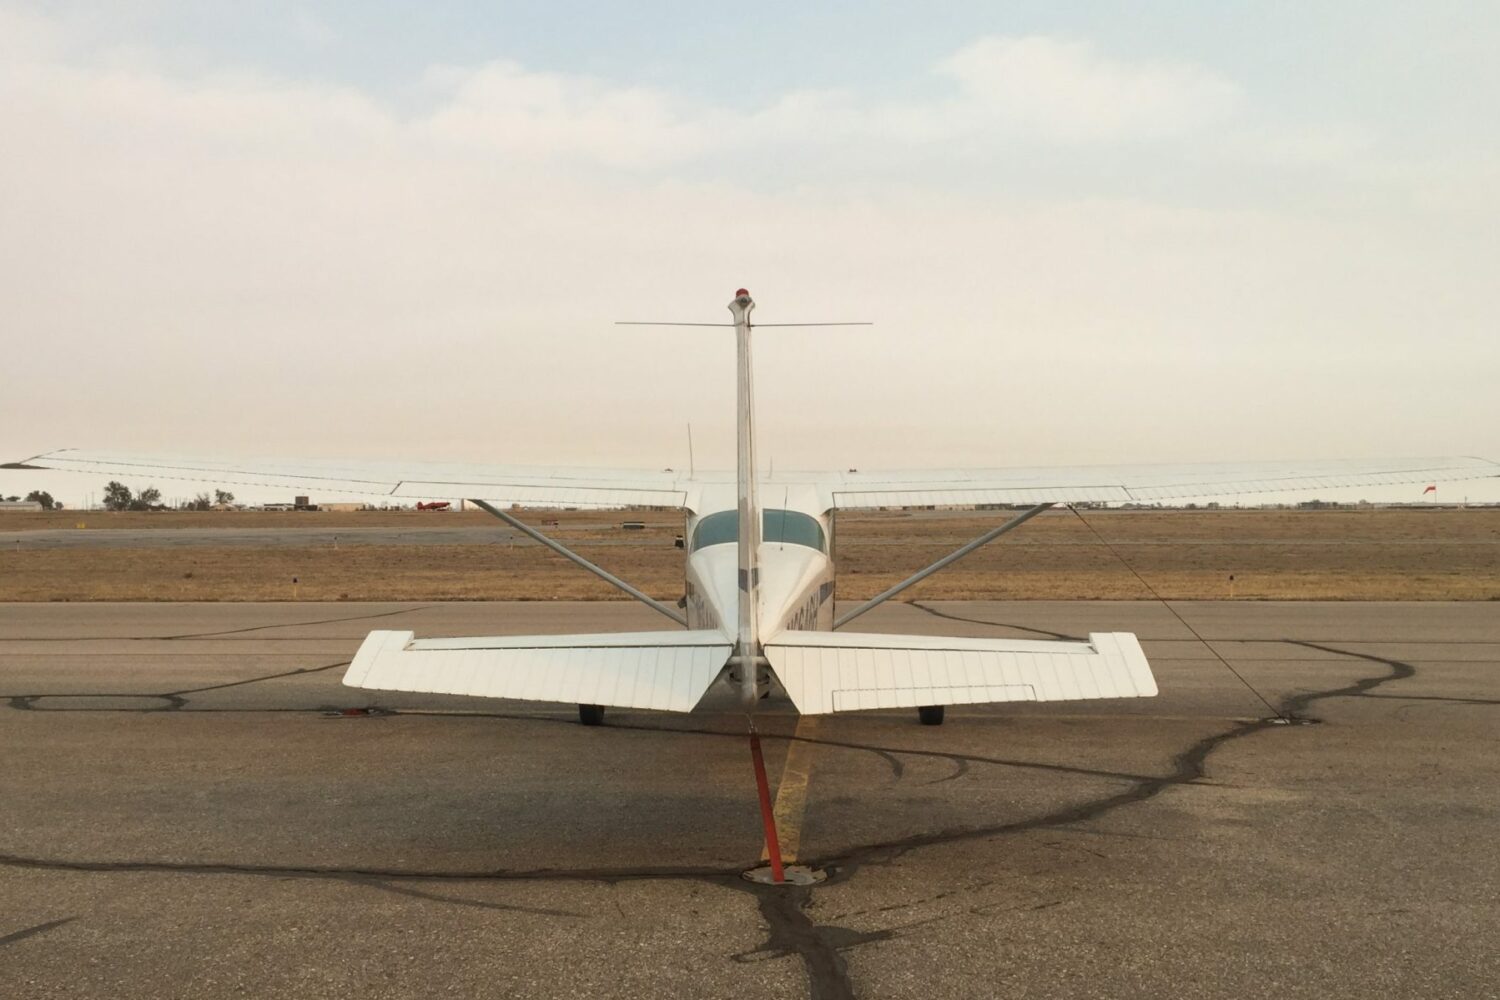
The Cessna 172 Project (V3) started October 20th, 2020.
Watch the video series here!!
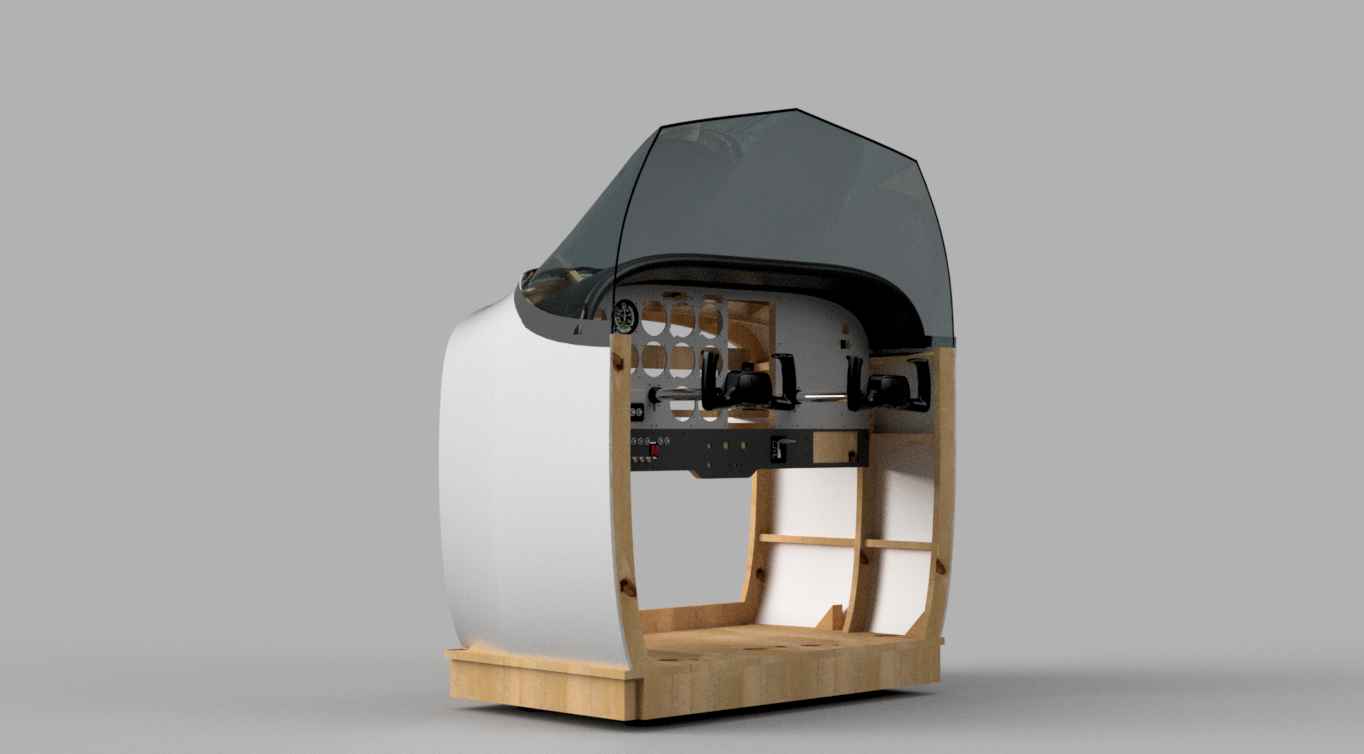
It started out scrapping everything from the Cessna 172 Project Version 2 and starting new based from a CAD (Computer-Aided Design) model.
This CAD model gave me a rough shape of what the Cessna 172 is like, and is probably dimensionally accurate to about 3-5 inches (you can only get “so” accurate without measuring an actual plane).
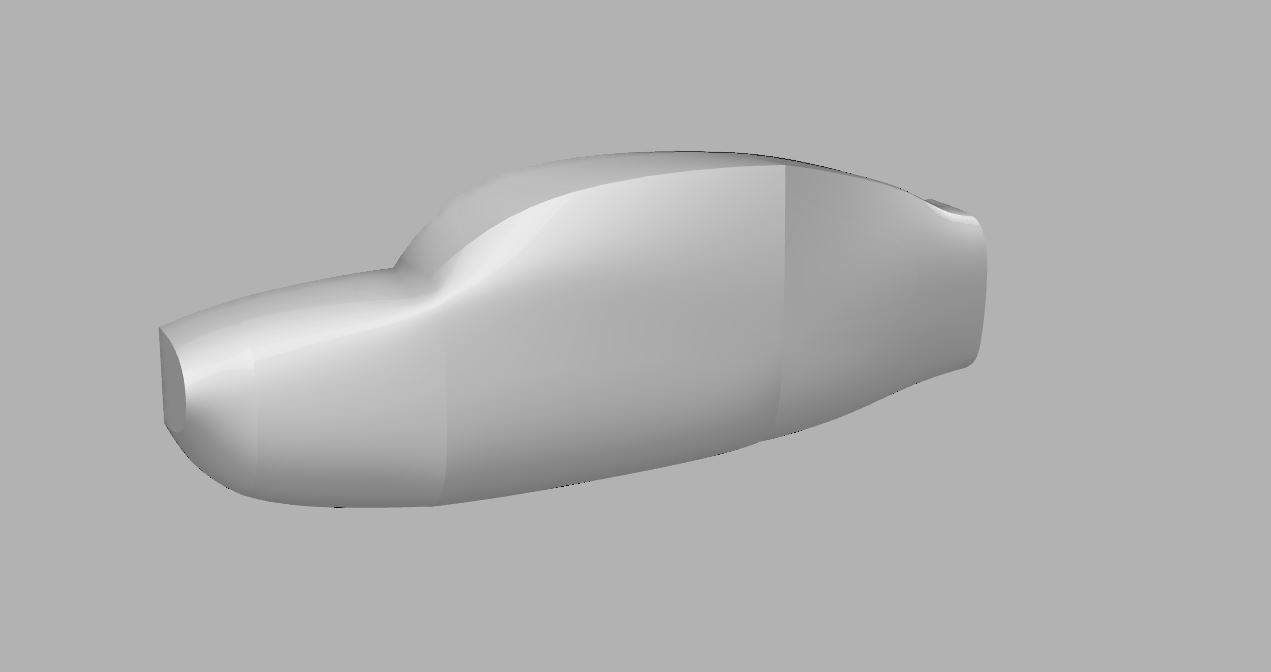
From there, I created the bodies and filled them up!

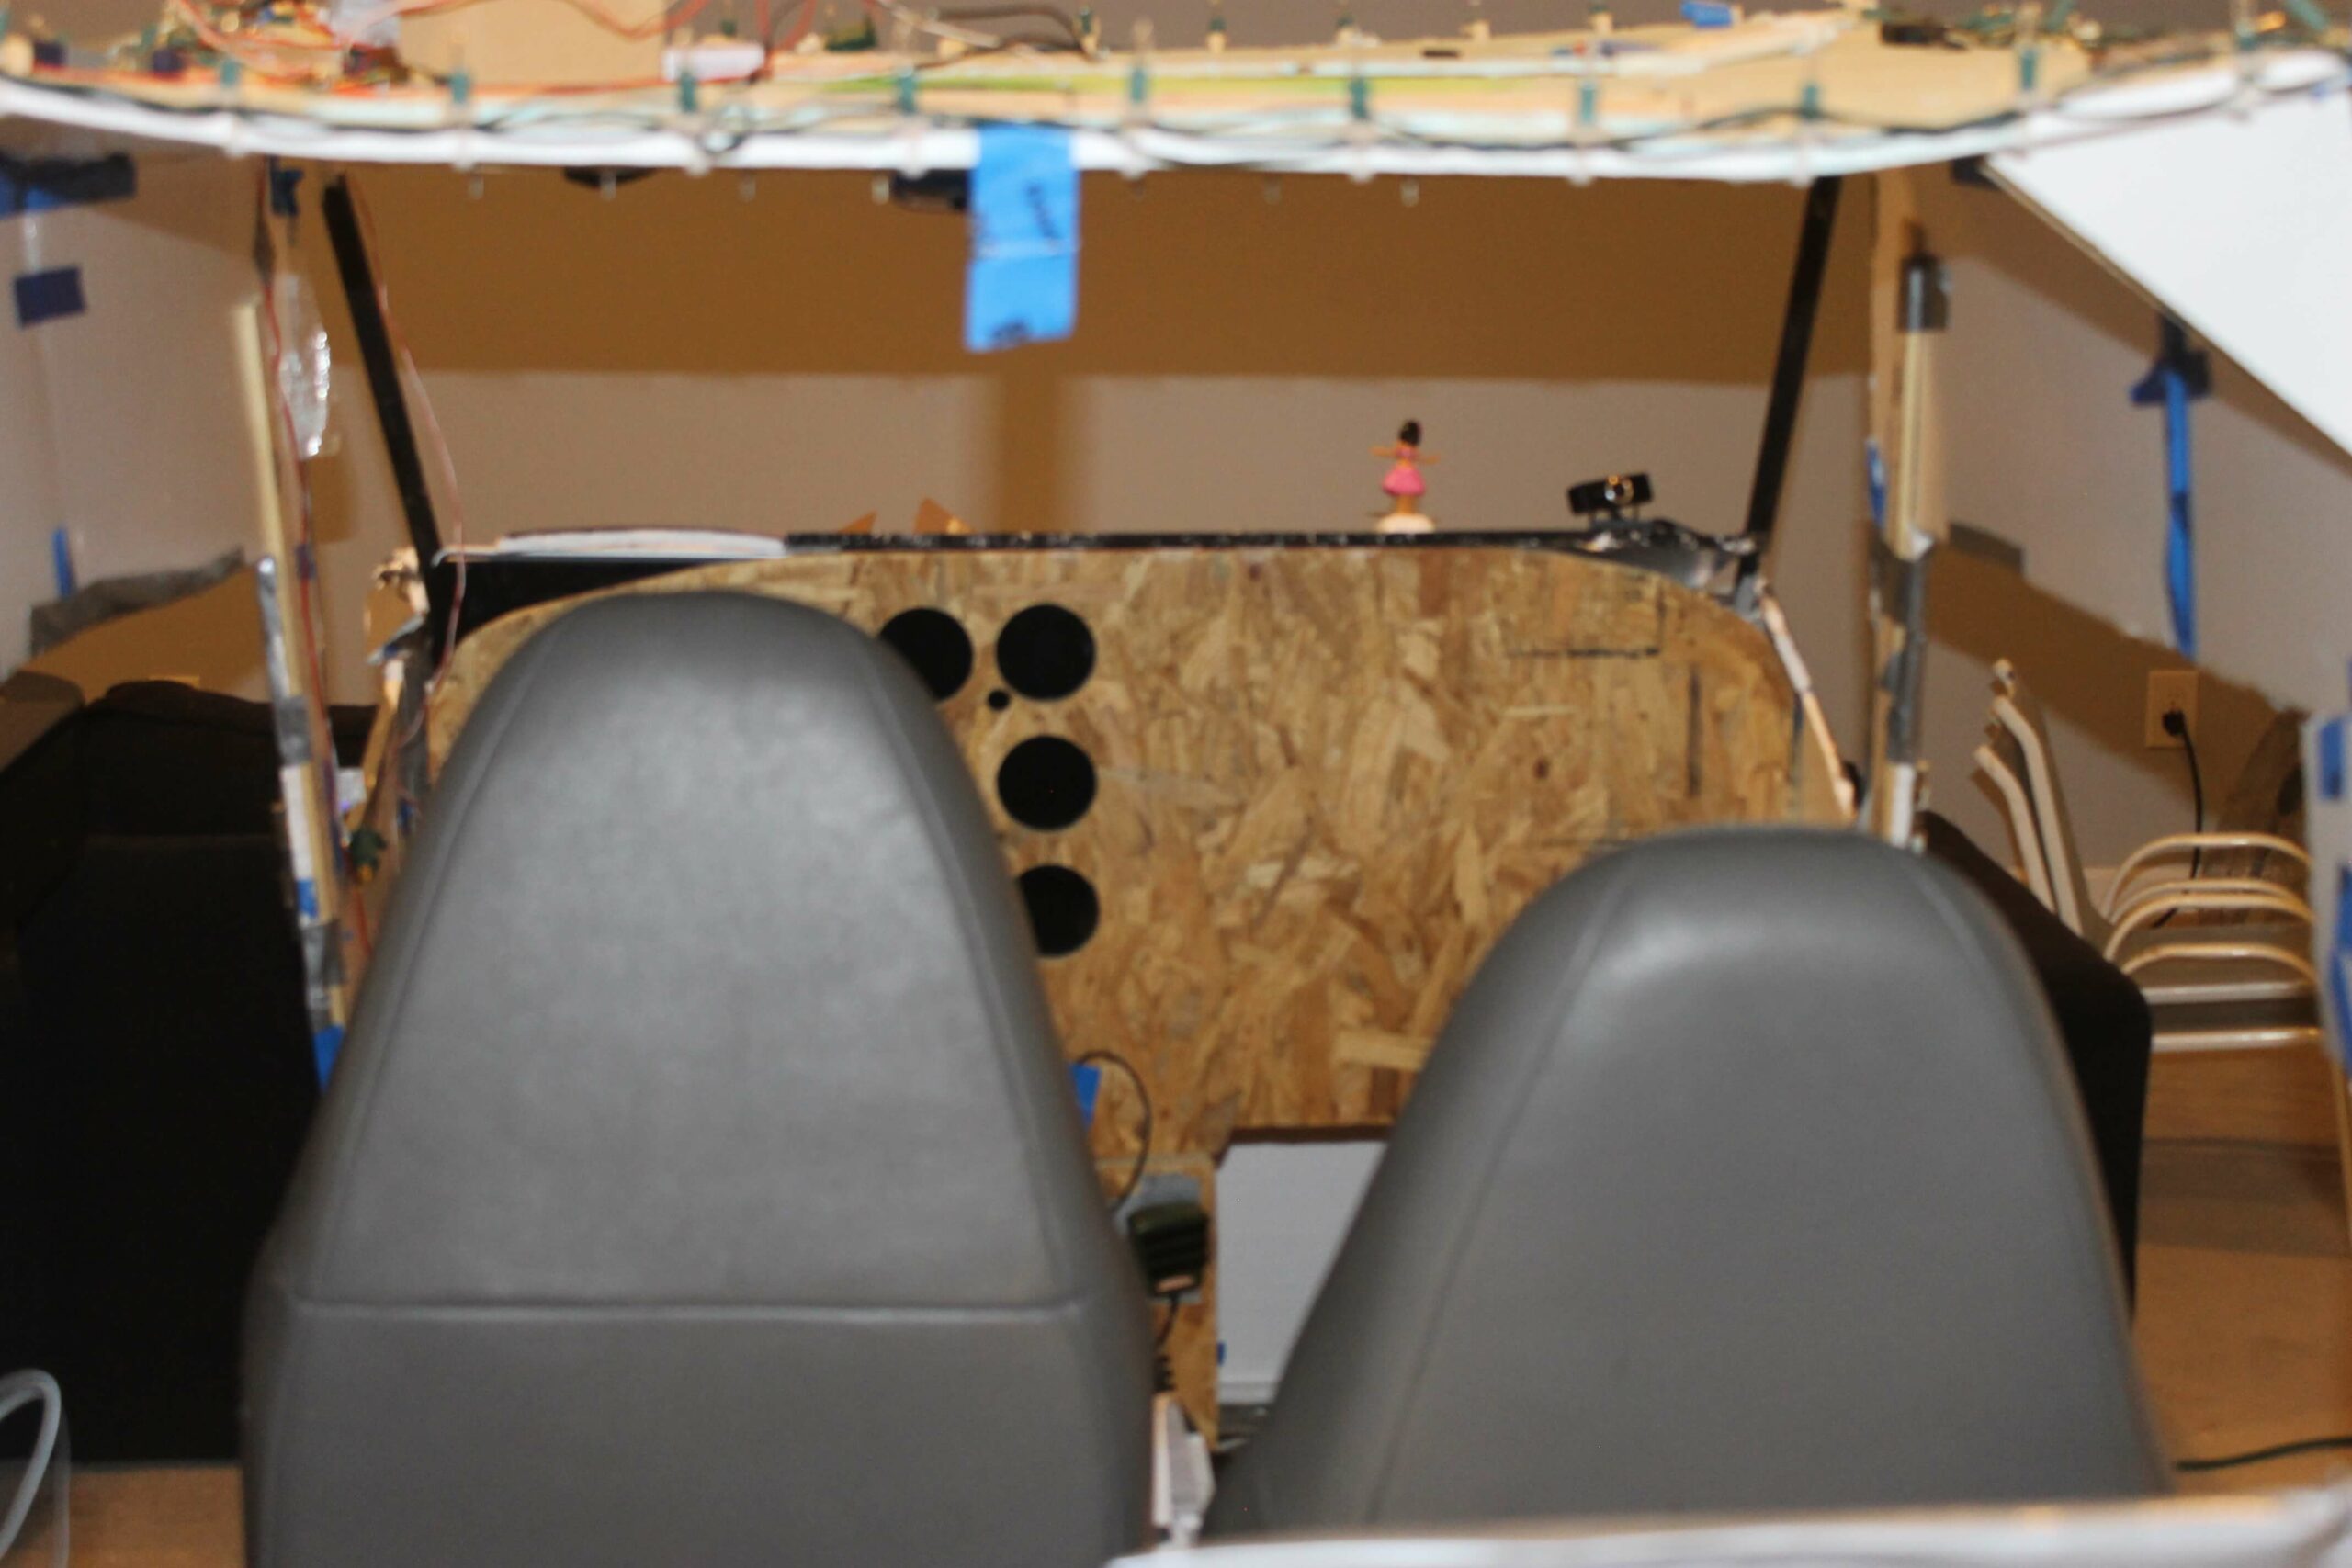
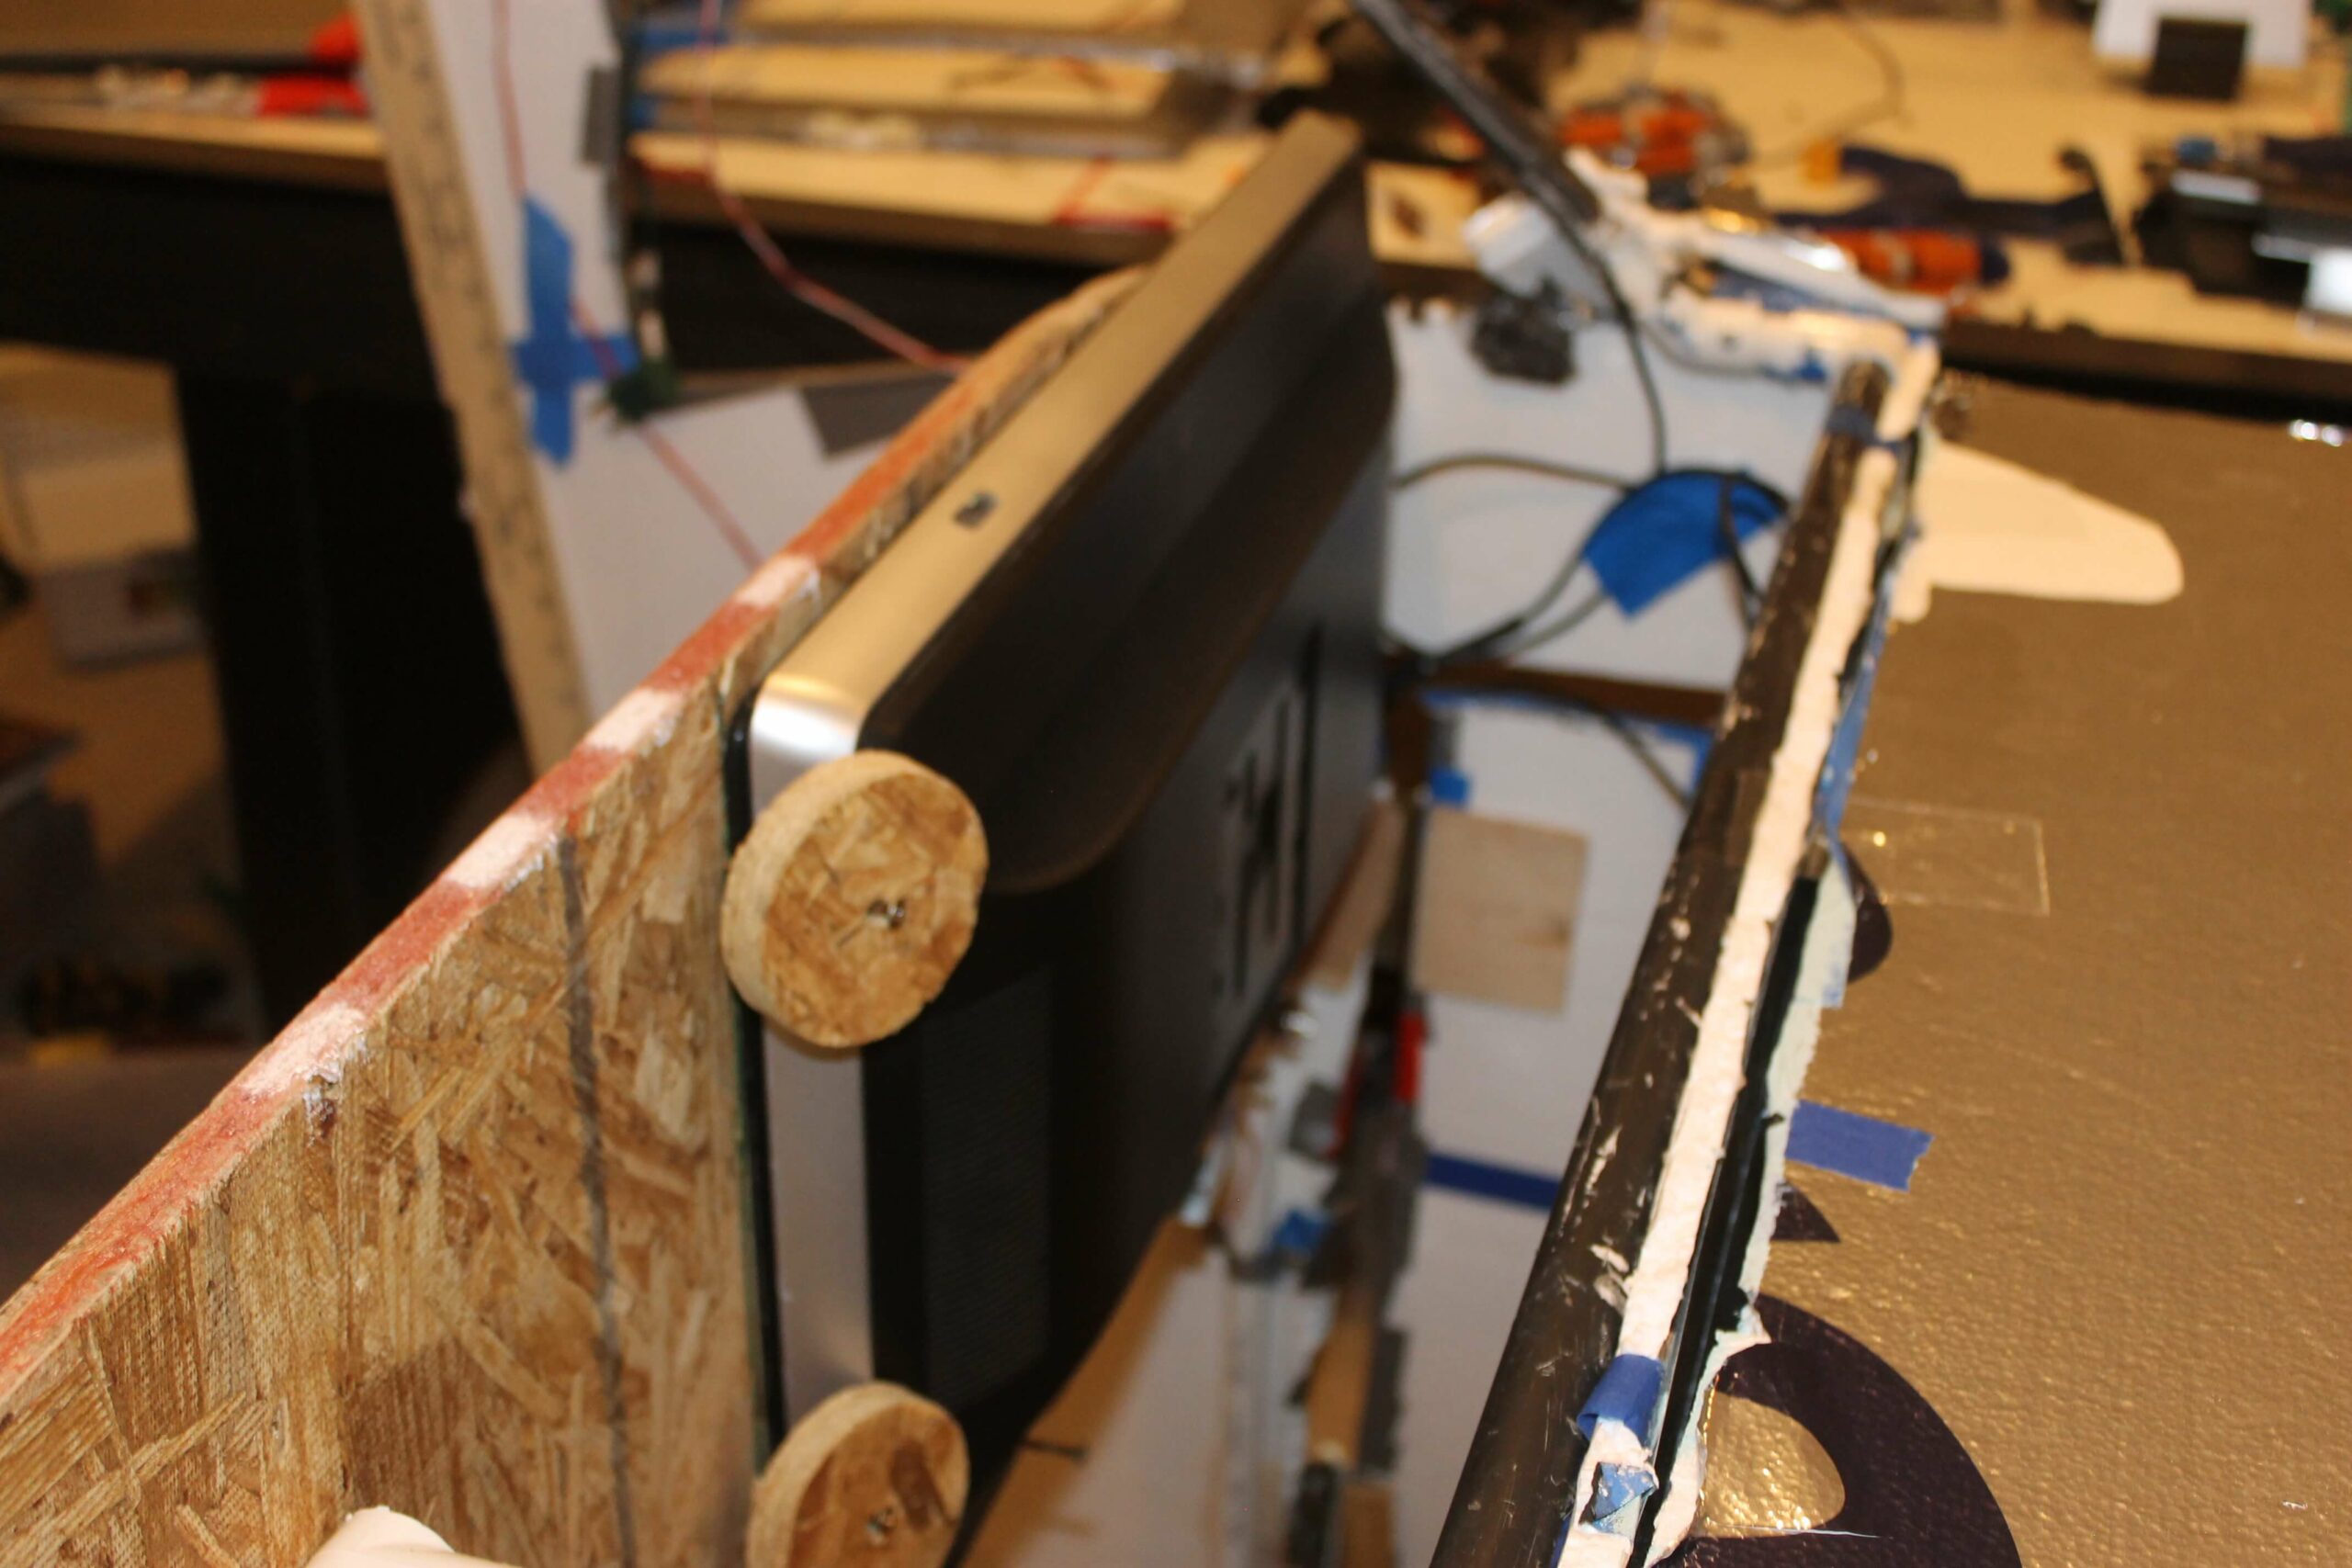
The body is built from some machine-milled plywood.
You can also use a jigsaw, but the CNC mill machines these with a nicer finish.
With the Cessna 172 Project, I decided to sell everything I make (including the CNC Milled structure). You can purchase parts on the shop page.
-
 The Cessna 172 Project Files$0.00
 - Product on sale
 GNS 530 Printed Circuit BoardOriginal price was: $17.50.$15.00Current price is: $15.00.
 -
 KT-76C Like Transponder PCB$12.50
 -
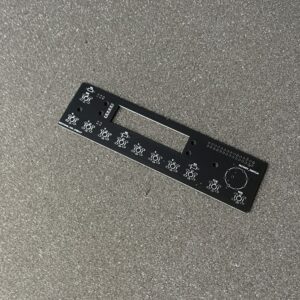
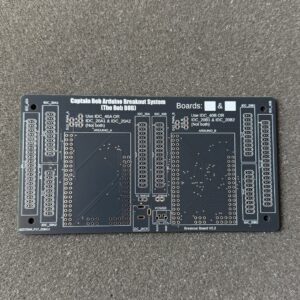 IDC Breakout Board System$15.00
I don’t want to be too “salesman-y”, so here’s my one plug for the shop.
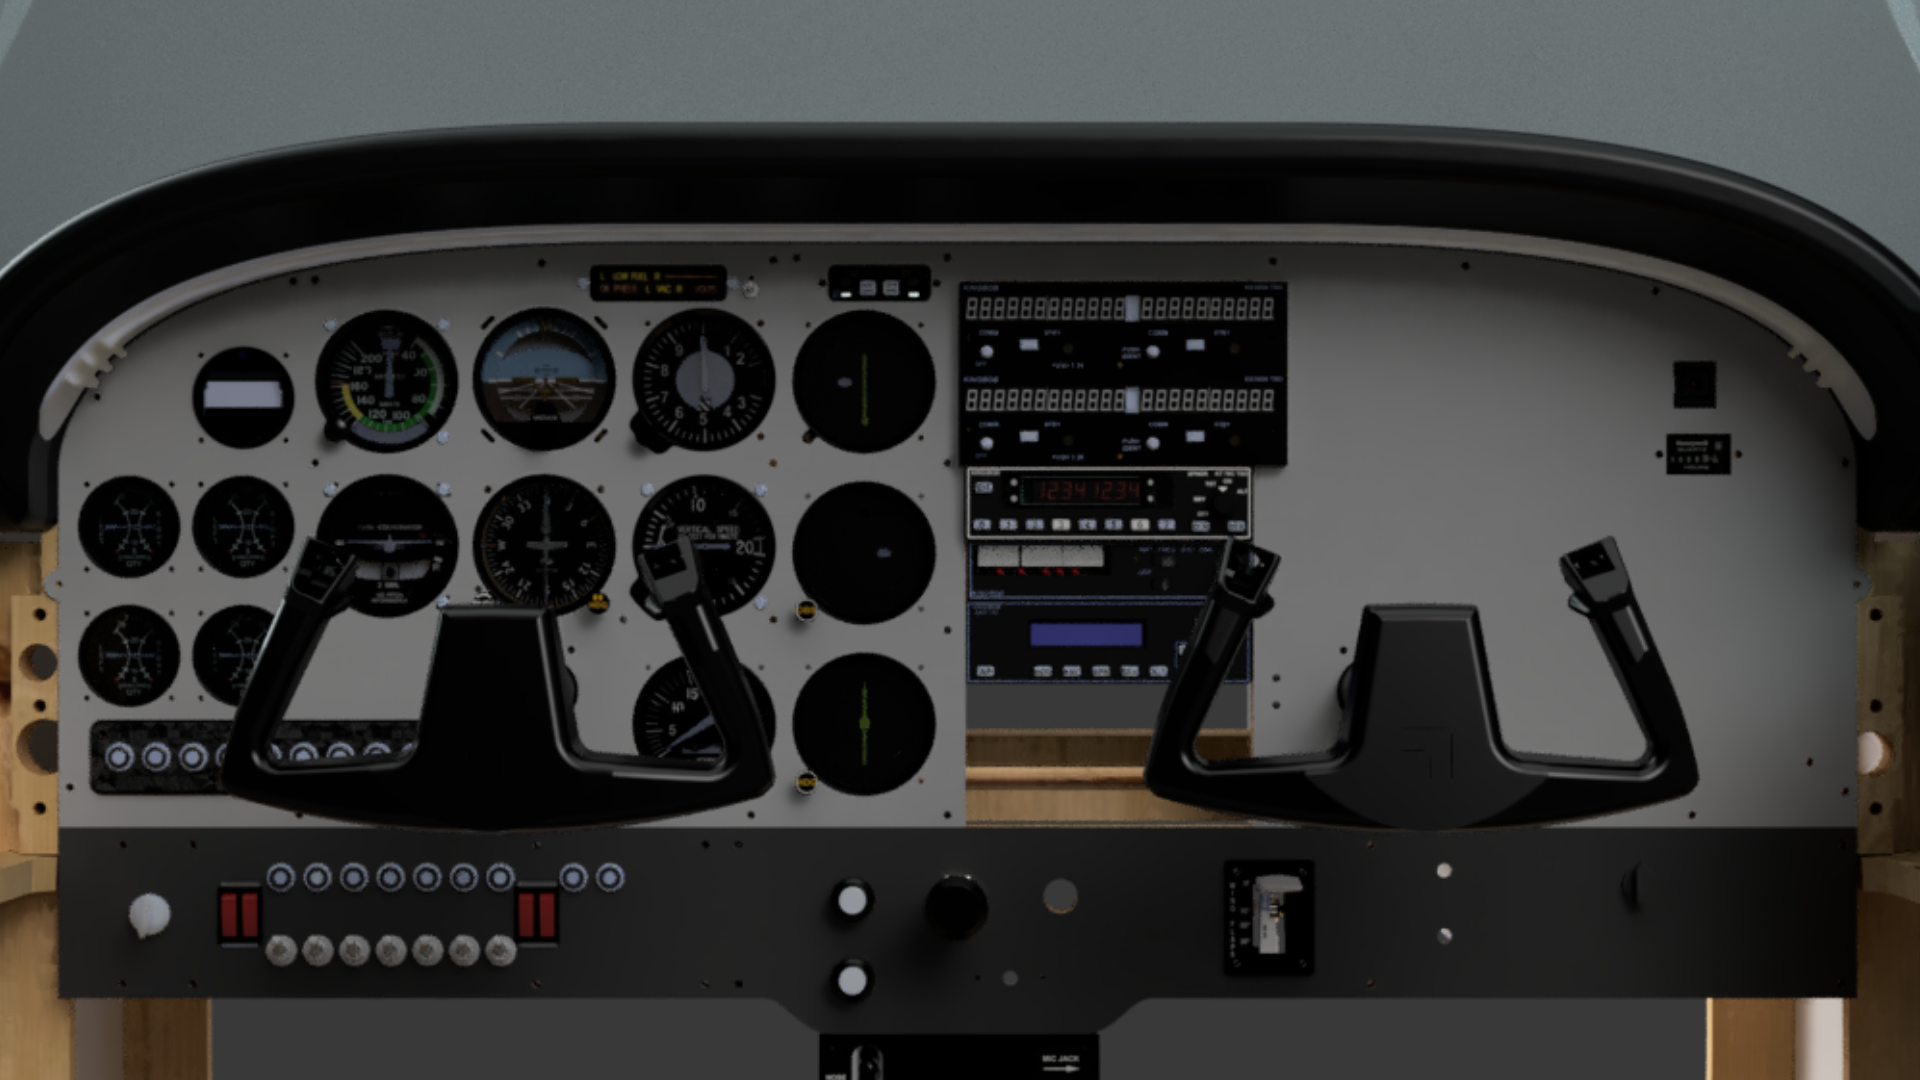
I placed the panel, and started designing everything around it!
Version 2
Version 2 started August 29, 2019
I started off with a complete Cessna, but then gradually decreased to make it more portable and to focus my energy.
In the beginning, I planned on having an Overhead panel for failures and simulator events, but that was later eliminated when I “slimmed” my cockpit. Slimming my cockpit meant cutting all of the components that were not necessary.
Version 1
This C172 was created when I was very young, so keep this in mind when watching my filmmaking 🙂
CONSTRUCTION
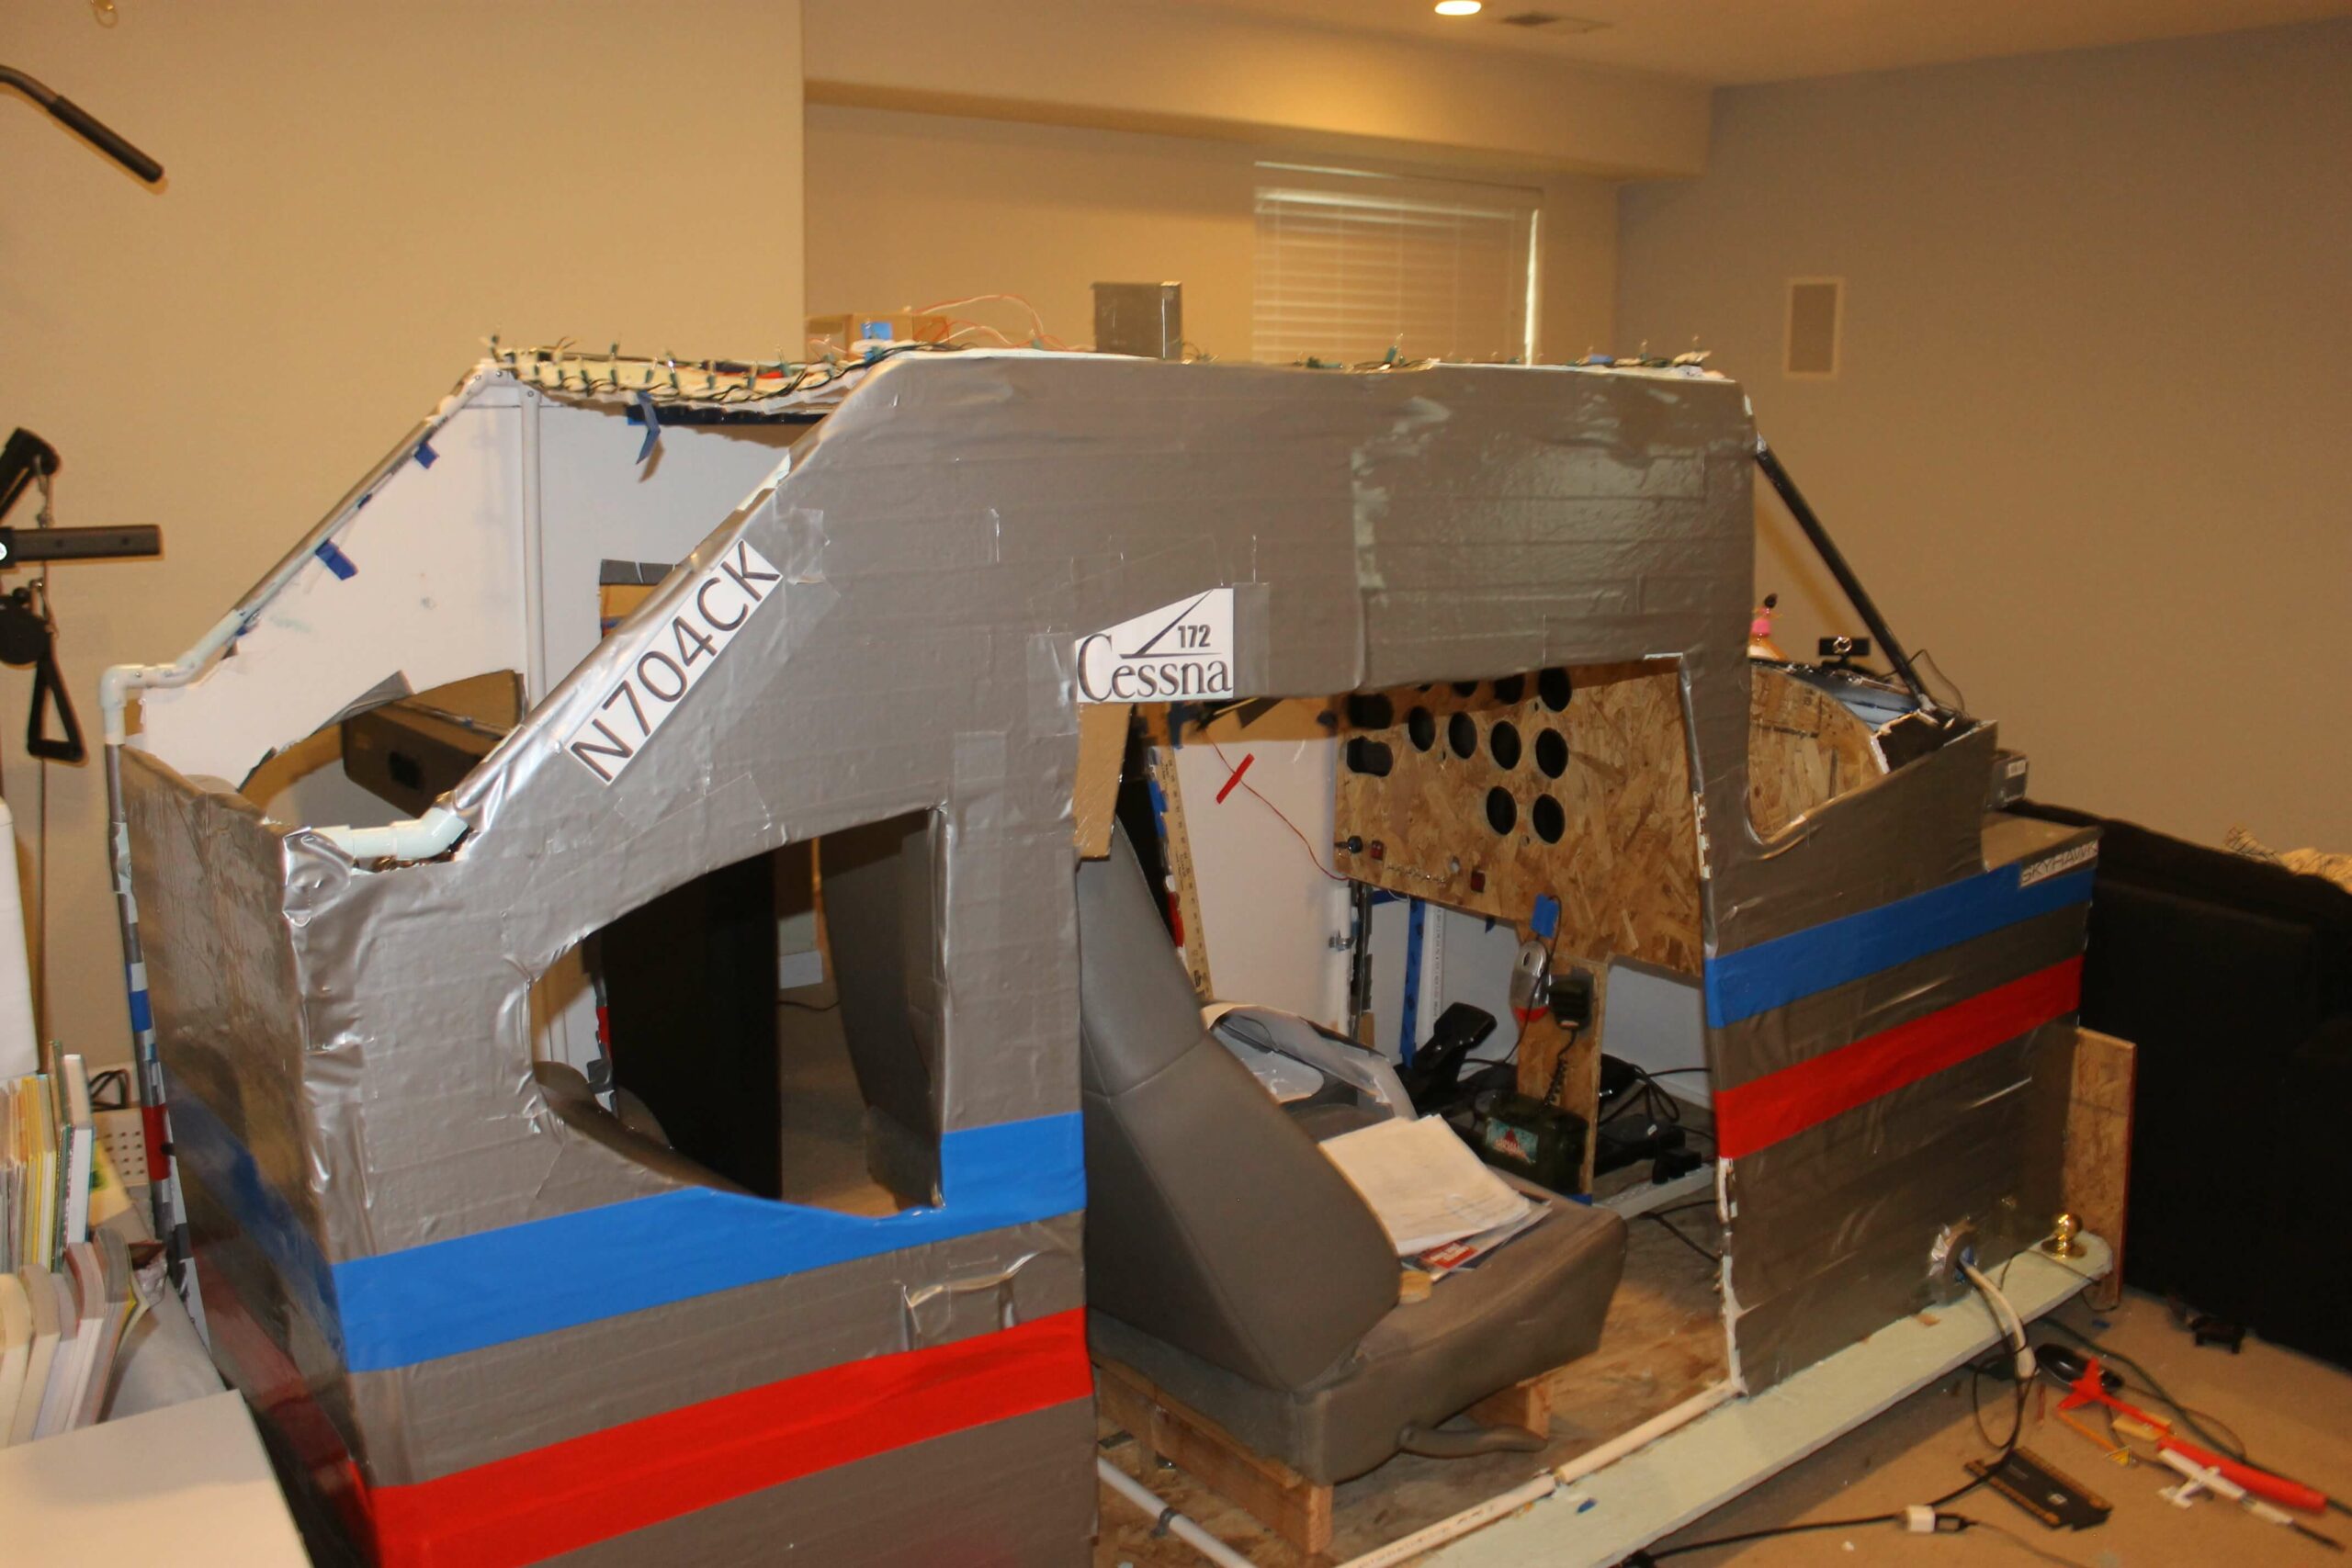
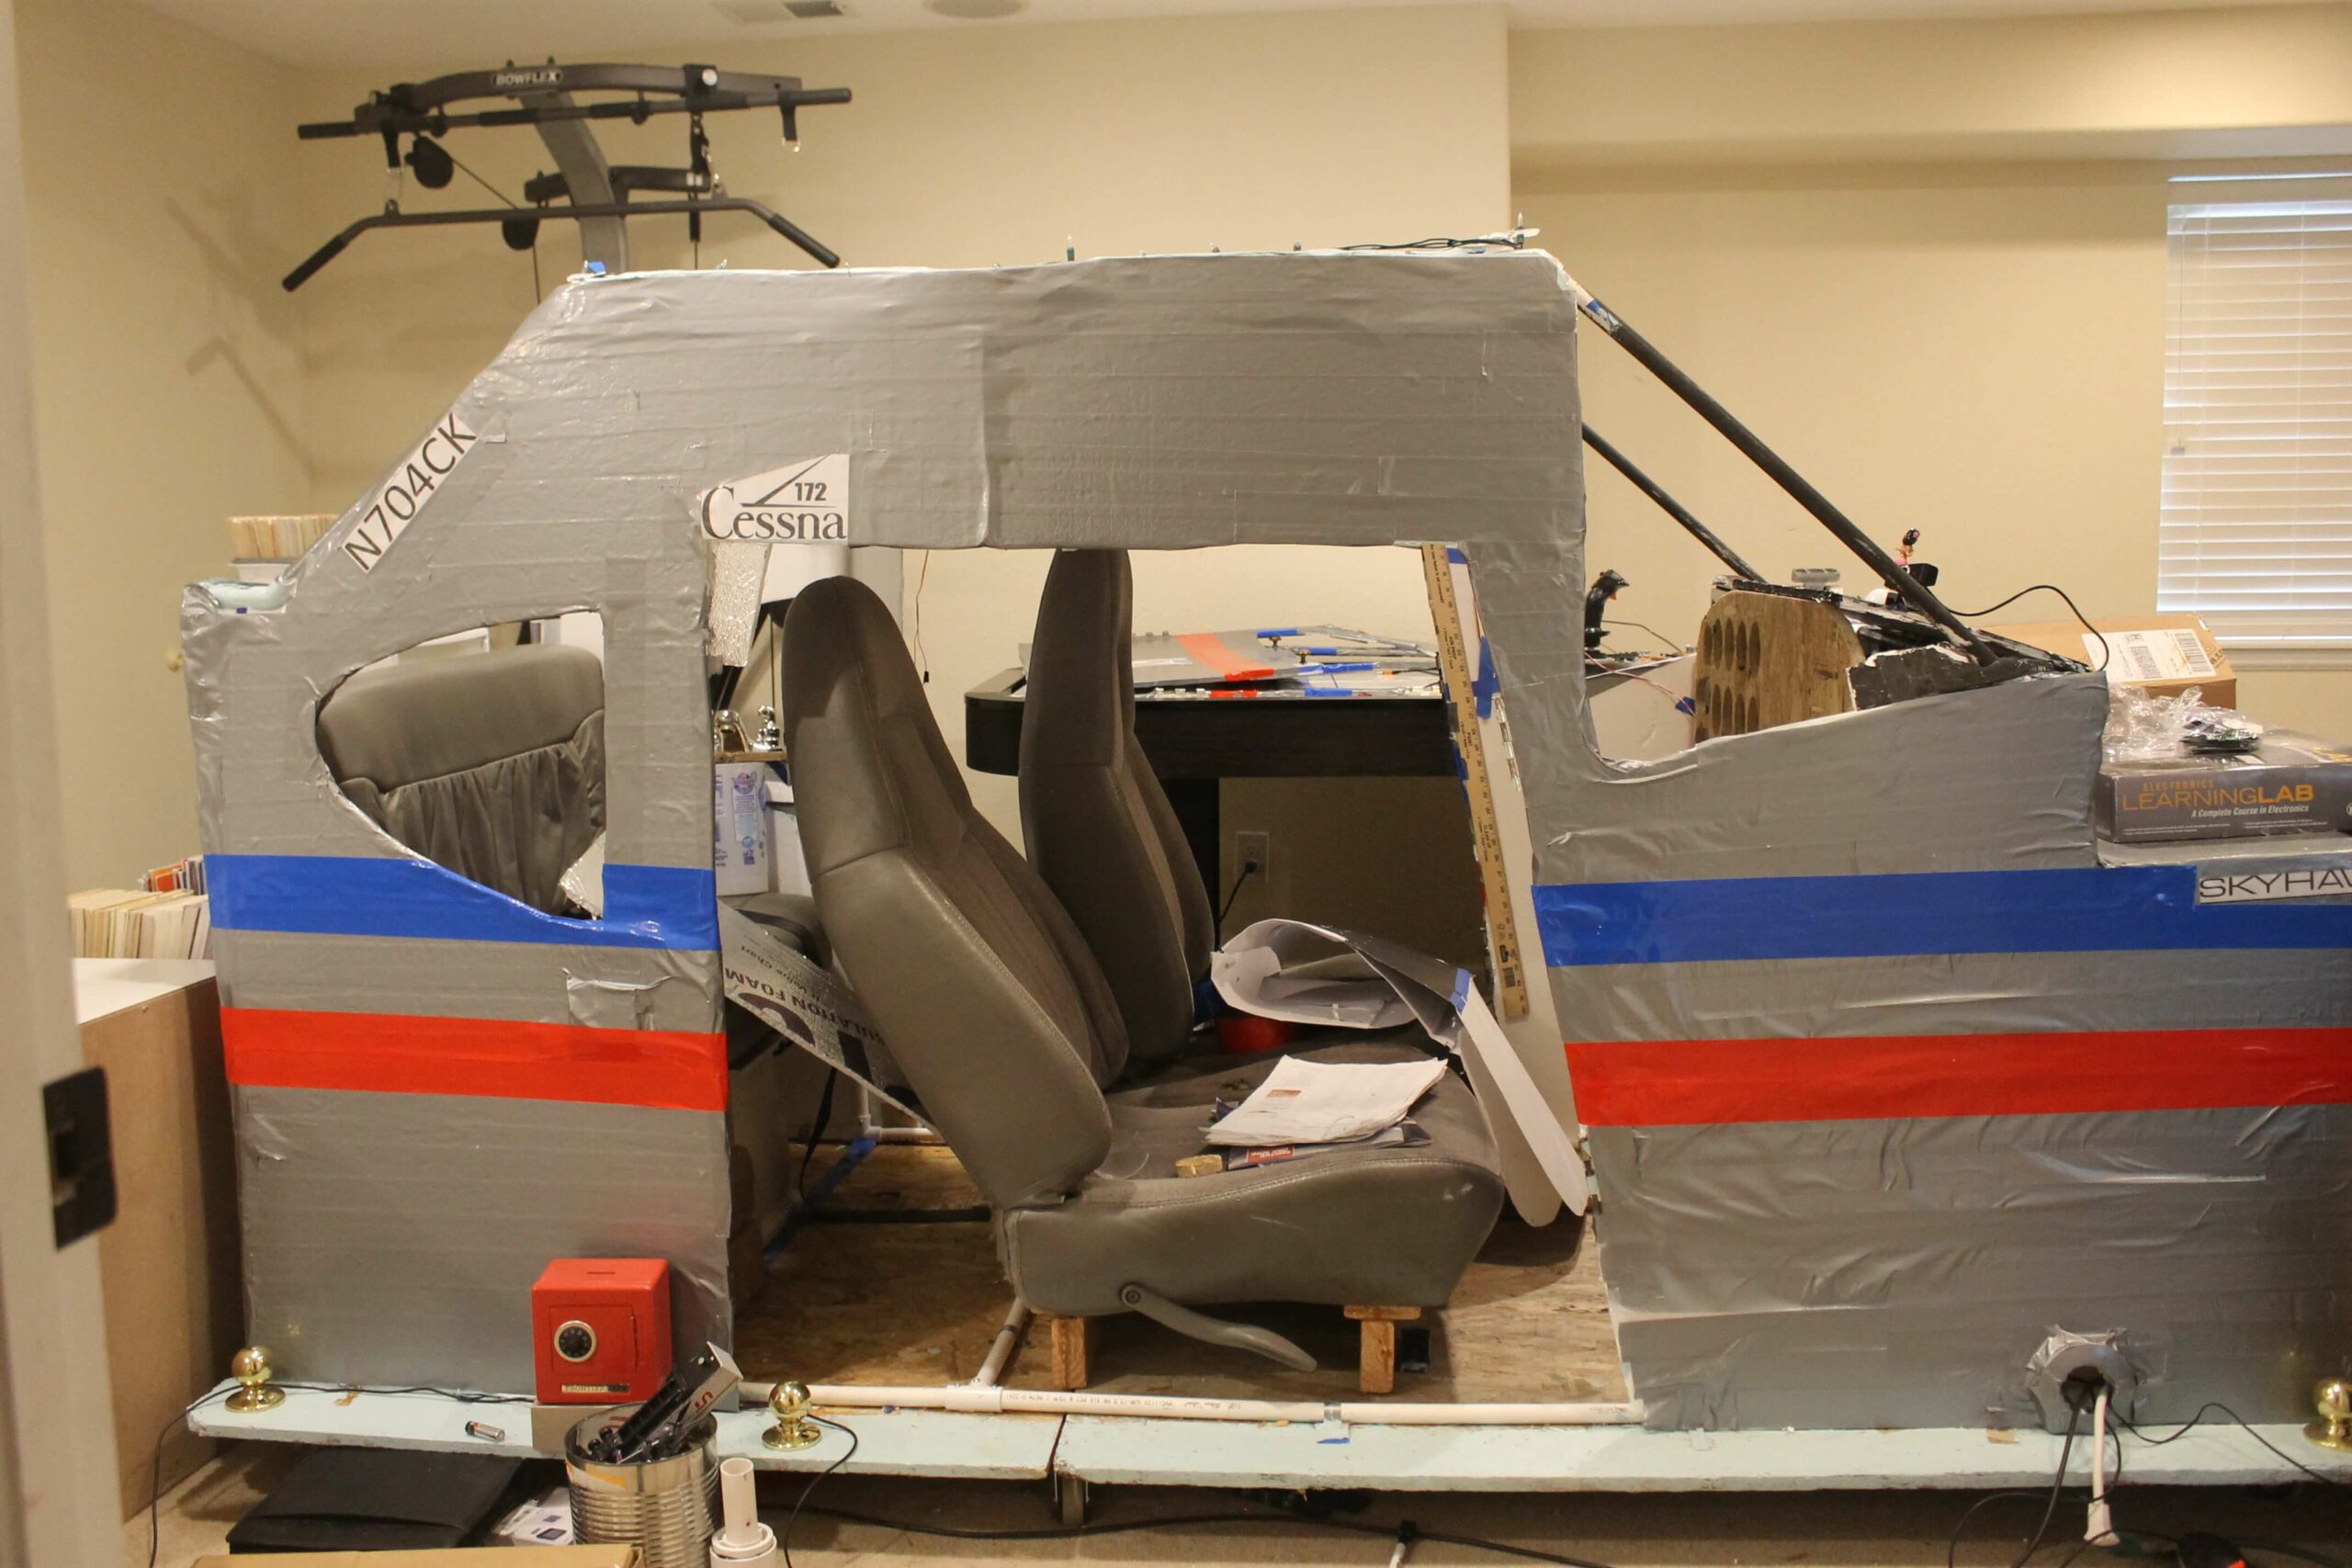
I started out with foam and 1/2″ PVC Pipe Construction (Which is super good for a kid who doesn’t know what they are doing).
I had an OSB plywood floor on 2″ wheels (The plywood needed reinforcement, as the middle was sagging). I used 2 Jeep Seats I found on craigslist, and a $20 bench (Also craigslist).
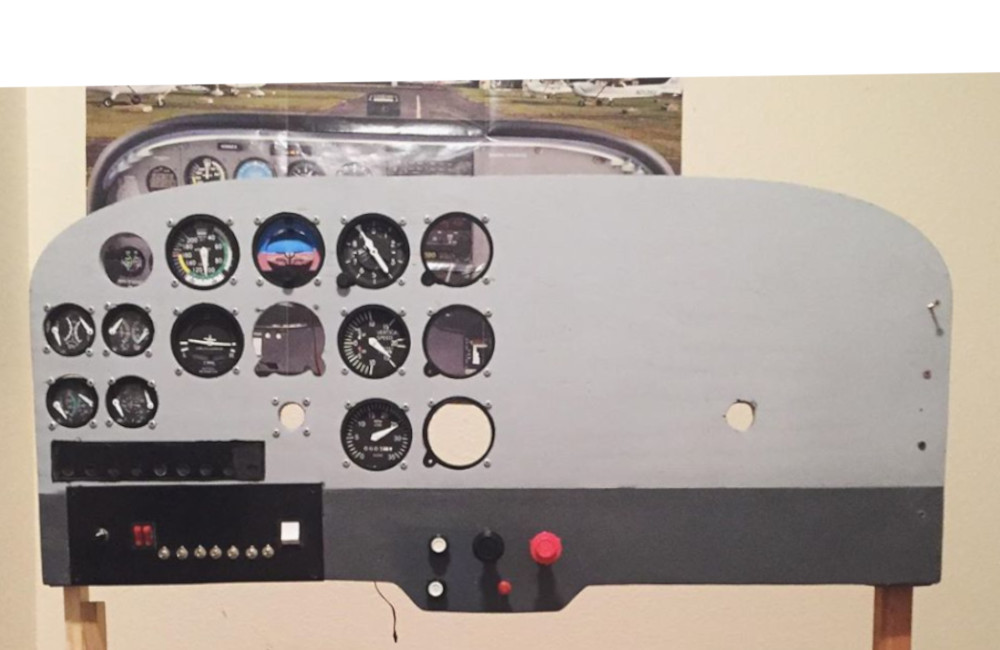
I used OSB for the Panel (I later upgraded to plywood) and covered the OSB with duct tape because the painting process was messy.
Initially, I planned on having the seats on rails, but the rails would break and the ball bearings would go everywhere! I later upgraded to 1.5″ wheels.

Posts: