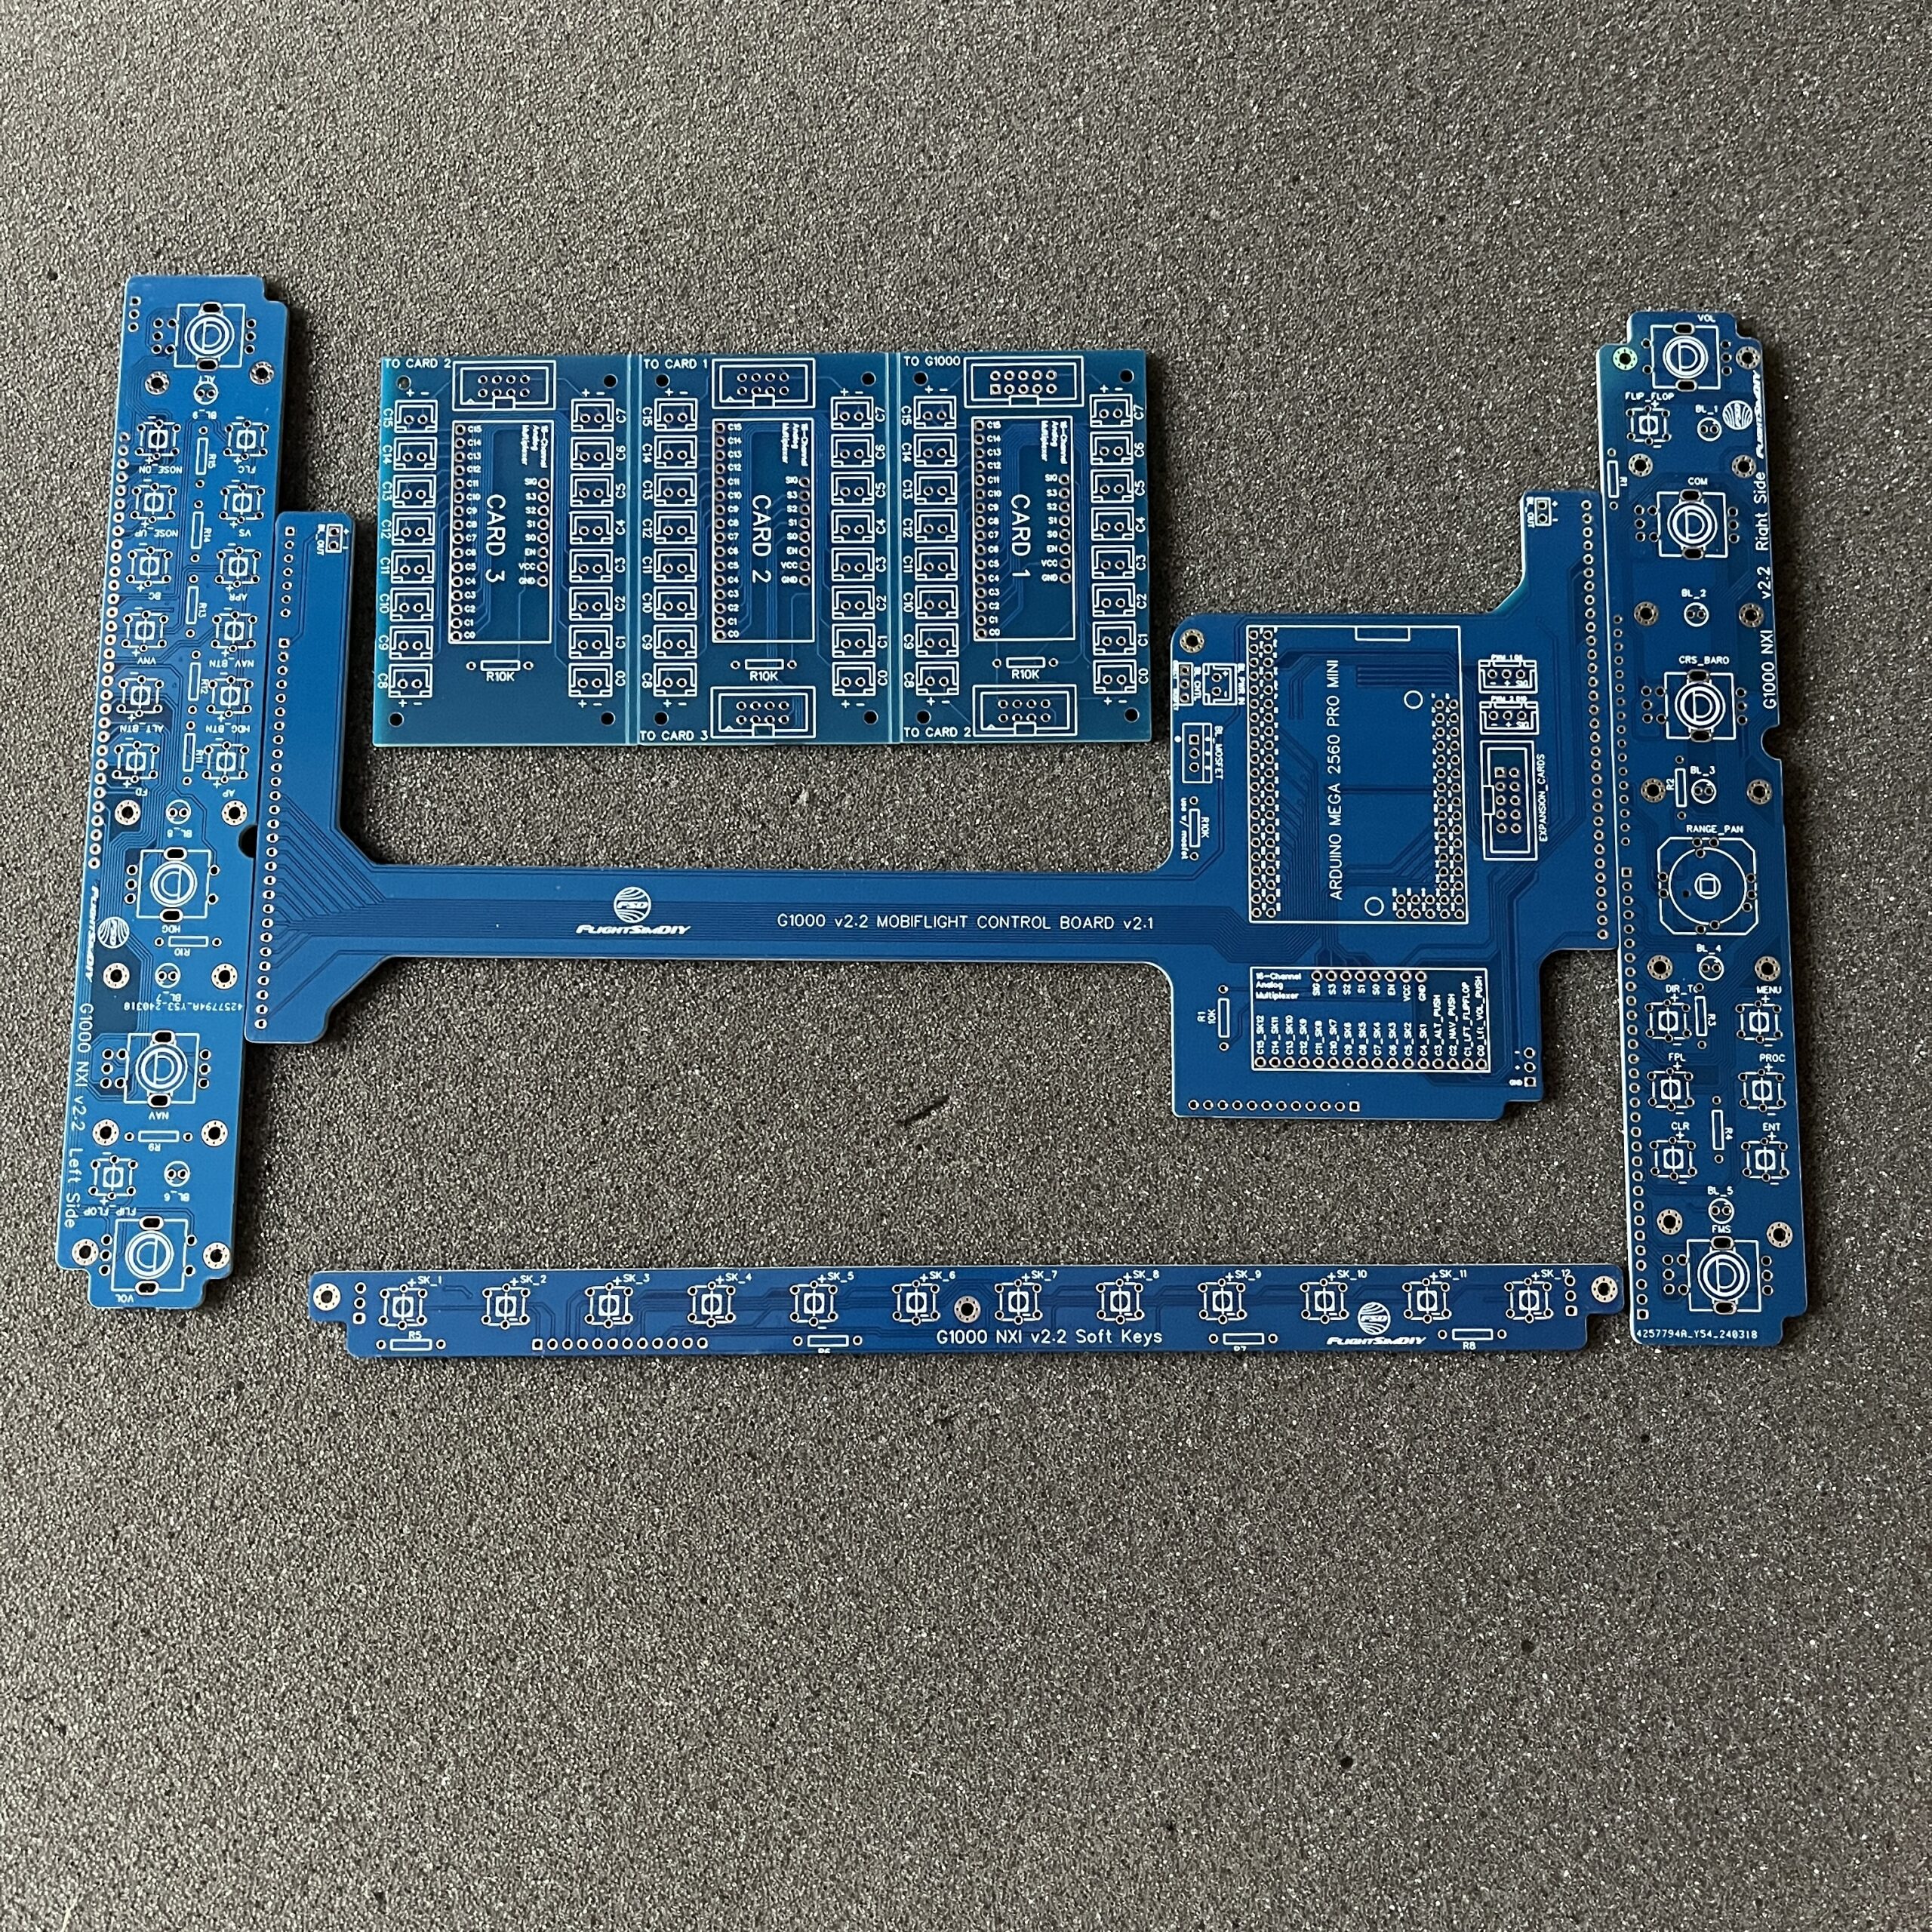
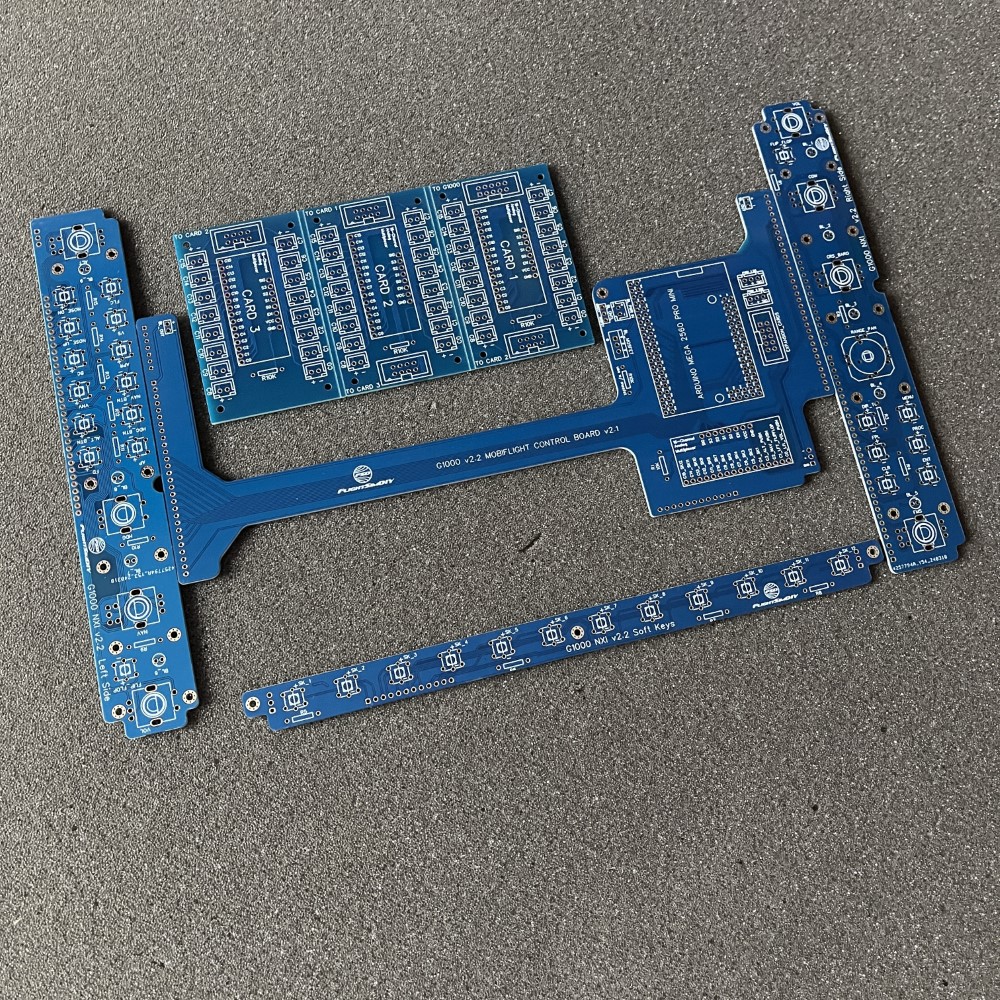
Make your own G1000 with Flight Sim DIY! Plans are available on FlightSimDiy.com
Assembly Instructions and Details
A portion of the sale goes to support Flight Sim DIY.
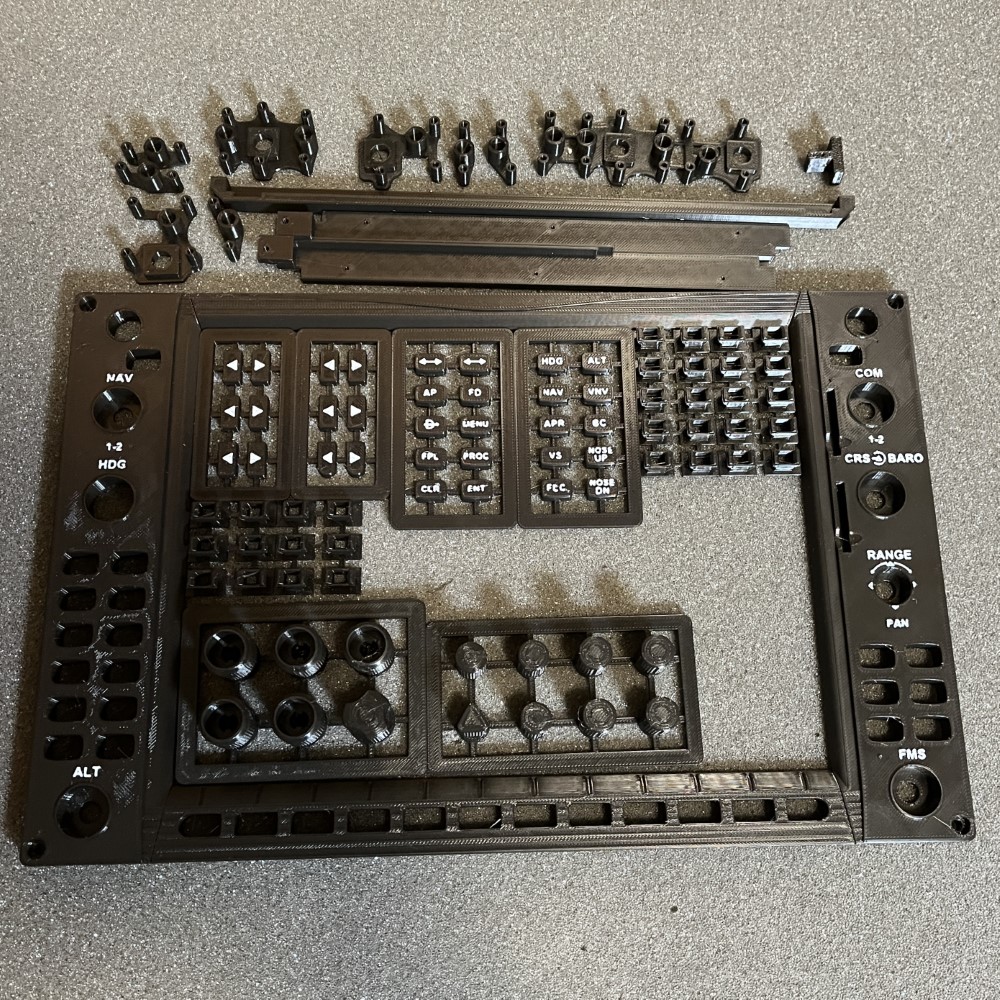
By default, parts are 3D Printed black then text is printed with white filament.
For backlighting, select”White Plastic”. You’ll then need to spray paint it in black and sand the tops to reveal the text.
For one unit, you will need to purchase:
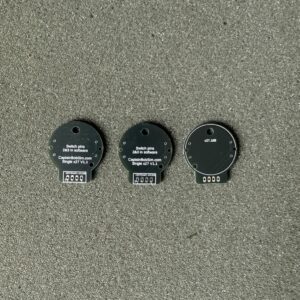
5 – Dual shaft encoders Part # EC11EBB24C03
3 – Single shaft encoders Part # EC11E15244G1
1 – Range Pan Encoder Part # RKJXT1F42001
32 – LED tactile switches (Note – Backlighting will not work with default black filament, see above for details.)
9 – 3mm round LED’s White color (Note – Backlighting will not work with default black filament, see above for details.)
Pin Headers
4 – 2.54mm header jumper cap shunts
10.4″ LCD Display
Resistors: (if using 12v power supply)
12x 62 ohm
2x 240 ohm
1x 430 ohm
FlightSimDIY also has these available assembled if you don’t want to learn how to solder: https://flightsimdiy.com/pages/pcb-assembly
Cody Dreyer (verified owner) –
This was a worthwhile upgrade to my home sim! Assembly and completion were simple. I am excited to master the G1000 without having to pay outrageous rental prices!